Pages

Friday, February 25, 2011

Baking with Kids: Homemade Pop Tarts

My blog this week was inspired by my wonderful mom's group and the food challenge we were given to make homemade pop tarts.  Now, I am a big believer in allowing my kids to help in the kitchen.  My son loves to help me make breakfast and both my kids enjoy assisting me as I bake.  This is a precious time where I can not only spend time with my children, but teach them as well.  The kitchen offers lessons in math, physical science, creativity, and life skills.  With that in mind, my son joined me in my mission to create my own pop tarts.
  
Honestly, I decided to join in this challenge at the last minuet.  So we started our experiment with homemade pie crust.  Some recipes online used pastry dough, but those require refrigeration.  I was making a larger amount of tarts to share with my group, so I doubled the recipe.  


After following the basic directions, and rolling the dough, I cut the edges using a pizza slicer.   This dough I was only able to split in half.  Most of the times I cut it in thirds.  


My son then applied an egg wash (beat 1 egg) to the strips of dough so they would stick together.  He said, "Ewwww, yucky!"


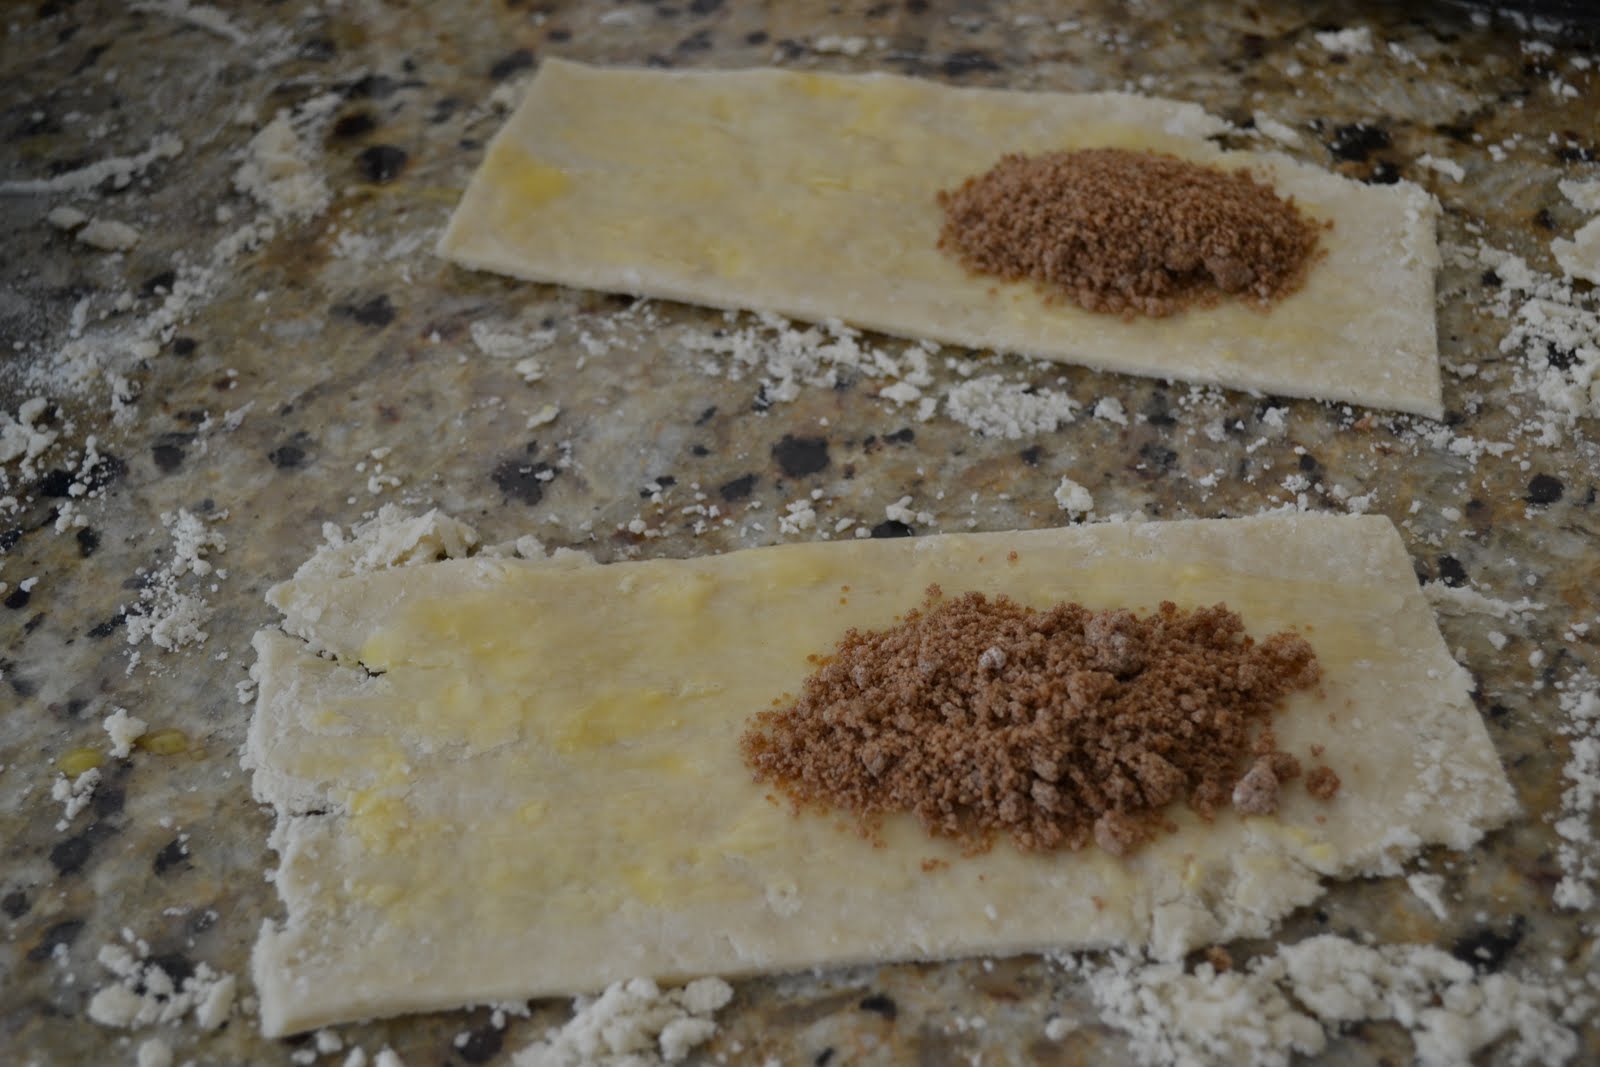
Prior to the egg wash I mixed up a filling of brown sugar and cinnamon which I found from Smitten Kitchen (I did not double their recipe).  They have a variety of filling choices but this was always may favorite as a child.  After the egg wash, I piled the filling in the center of half the dough. Keep in mind you'll be folding the empty half over.


After applying the filling, fold the dough over and gently press the sides down.


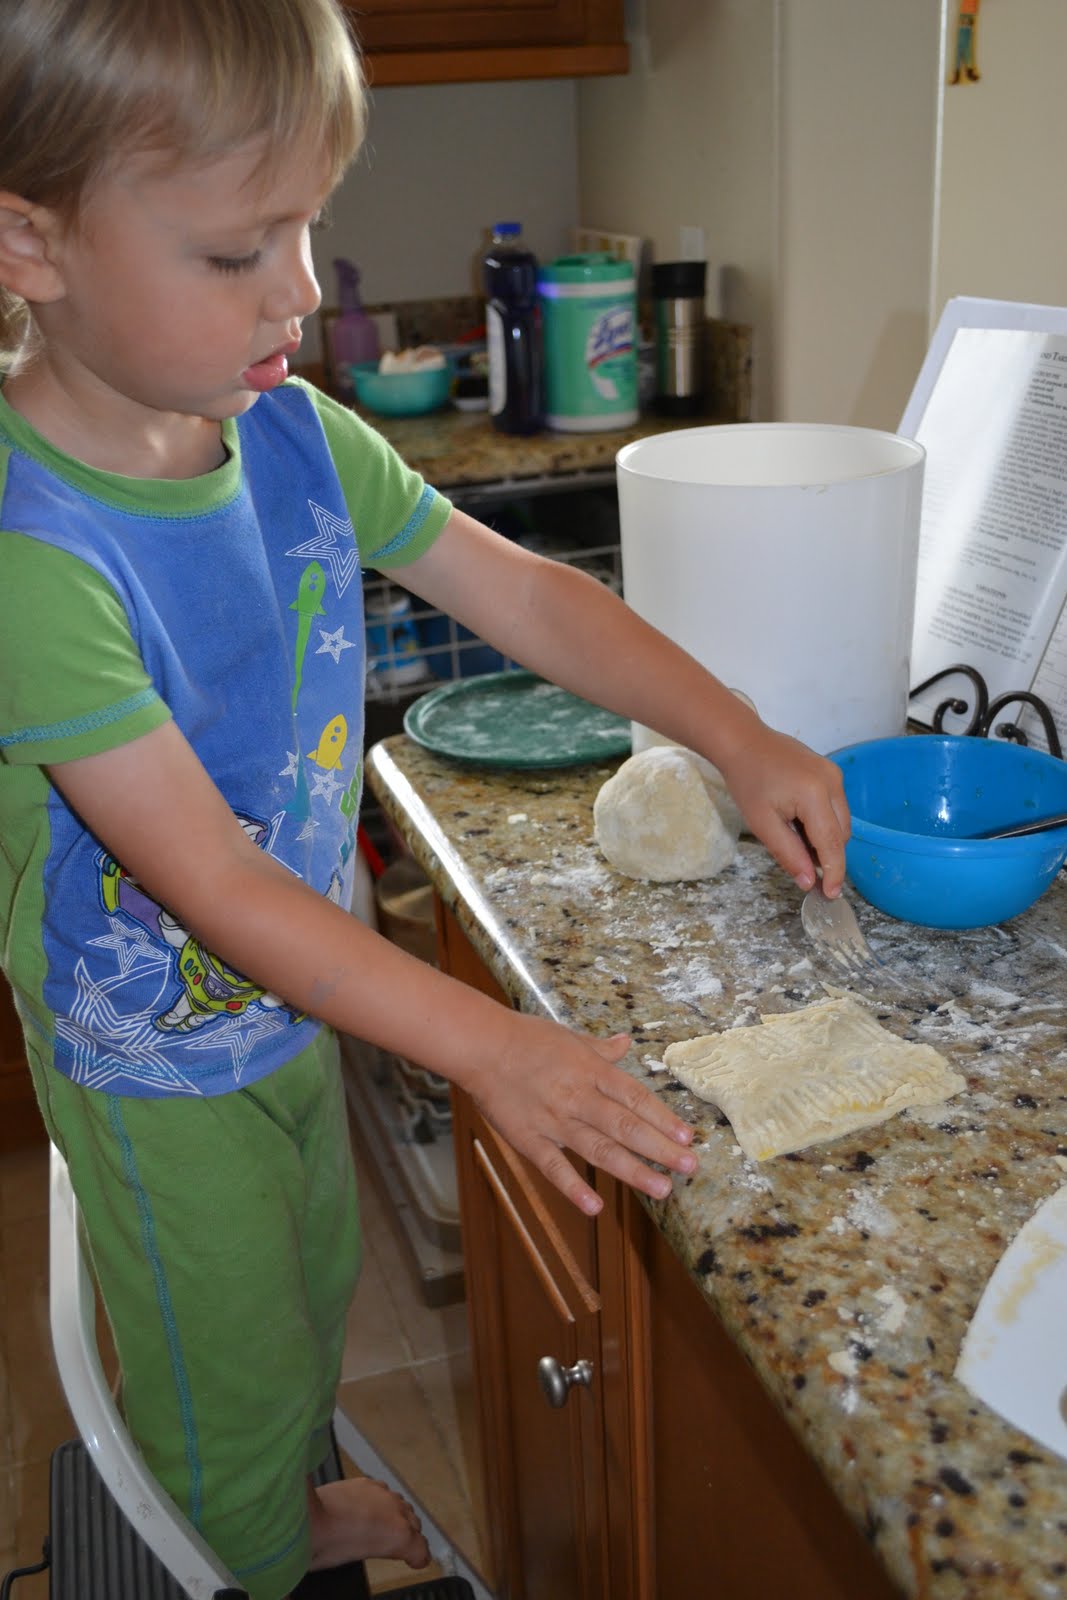
After folding the dough, dip the fork into ice water (which you may have left over from the crust) and press around the edges, sealing the dough and filling.

  
Then poke a few holes in the top to vent.


Egg wash the top and sprinkle with sugar.  Bake at 350 degrees for 20 min.  Enjoy warm.  If you have any left over, you can pop them into the toaster (just like the original!) when you are ready to eat them.  

As most children are when they help their parents, my son was proud to have created something he could eat.  He also gains sensory exploration in taste, site, touch, and smell (science), is learning measurements (math),  discovering that heat changes things (physical science), and developing fine motor skills.  Not bad for such a tasty treat!            

Friday, February 18, 2011

STEAM Remote Control Art


*This post contains affiliate links

After reading about "drawbots" on Irresistible Ideas for Playbased Learning I was inspired to create something of my own.  My son has several remote control vehicles and after applying the right amount of tape and markers, we created our own RC "drawbots". This is a fantastic STEAM activity for preschoolers, especially if you have several vehicles or wind-up toys to use for this art experiment.


Our first prototype was a fire engine with 4 markers taped in various places around the truck. Make sure whatever vehicle you use, the tips of the markers are lightly touching the paper.  This is likely through bit of trial and error.  

The remote was very simple for this vehicle; it was specifically designed for a preschooler.  The truck went forwards and in circles creating a modern masterpiece!  We used a large pad of newsprint paper which was given to us.  Opening the paper pad created a larger creative space. Of course the most difficult part is keeping the vehicle on the paper.  


Our 2nd prototype was a non-RC train. It's the type of vehicle you pull backwards and let go in order for it to move.  It didn't travel very far and was a dud.


Our third prototype was an RC spaceship.  The drawback with this vehicle was as soon as you turn it on, it moved forwards.  You have to be quick on the remote or the spaceship leaves the drawing space.  It was too difficult to control in this situation.  


The winner of our STEAM drawing project was the firetruck!  Easy for a preschooler to use and it was fun to draw multicolored circles.  If you wish to try this at home, I suggest large pieces of paper or cardboard.  A roll of paper would work as well.  My driveway was very colorful afterward, but I figure, that's what rain is for!     

Materials:
  1. Remote control vehicles
  2. Markers (scented would be fun!)
  3. Large Pad of Newsprint or Easel Paper Roll
  4. Tape
I hope you and your child enjoy this STEAM project.  Let me know how it goes  Find a creative RC unit to experiment with?  Share your pictures on my Messy Kids FB page! 

Friday, February 4, 2011

Playdough: More Then Squishy Fun

Playdough is more then a creative outlet for budding sculptures.  It is one of the simplest ways to develop fine motor skills in your preschooler.  All that squishing, rolling, cutting, and pinching gives your child's writing muscles a good work-out, even before they start writing!  Plus, it can keep even the shortest attention span busy for say, 10 minuets (enough time to brush your teeth and hair or make a quick lunch).  For busy, working moms, store-bought playdough is good.  But I recommend making your own.  It's softer and versatille (see "optional"), plus if you let your little one be involved in the process, you are throwing in a basic science lesson about heat and change too.  Double bonus!

Here is my favorite recipe:
Materials: 
3 cups flour
1 cup salt 
6 tsp. cream of tartar
3 cups water
3 tbsp. oil
food coloring of choice (or liquid water color)

Optional: glitter, scents (rose, lavender, orange, peppermint, etc.)

Mix all ingredients in a large pan over low to medium heat.  Use a whisk as you gradually add the water to the dry ingredients to help prevent clumps.  Stir until mixture forms a semi-sticky ball.  Remove from heat and knead until smooth.  Store in an airtight container. Gallon Ziploc bags work well. 

Additional ideas for playdough exploration:
  1.  Scissors:  Ever buy kids scissors that don't work?  They will work with playdough!  Kids love cutting playdough, plus your exercising those fine motor skill muscles again!
  2. Loose items: Buttons, google eyes, pipe cleaners, straws, plastic flowers, beads, and more!  Be creative.  
  3. Garlic Press:  My dad taught me to use a garlic press to make hair for my playdough creations when I was a child.  My kids make worms with it.  What will your child create?  
Do you have more ideas for playdough?  I'd love to hear them!  Please share with us by leaving a comment below!  

Lessons in dough:
  1. Dramatic Play: Give your child a cookie sheet, rolling pin, plastic bowls, apron, cookie cutters, utensils, and anything else you can think of.  They can play bakery!  
  2. Science: Making playdough is a lesson in physical science.  Your child will observe how heat changes the ingredients from a gooey mess to a more solid state.  When you add scents to your dough, your child is also exploring their senses; let them explore all 5 of them (unless you add glitter, then no tasting!)
  3. Holidays/Seasons:  Use peppermint scent at Christmas and make red or green dough.  For Valentines day, make red or pink dough with glitter.  In March make green dough with green glitter.  For spring, add some floral scent and make your dough pink, lavender, light blue, or yellow.  And in the fall, add some cinnamon or pumpkin pie spice and make orange dough.   
Do you know any additional lessons for playdough?  I'd love to hear them!  Please share with us by leaving a comment below!   

LinkWithin

Related Posts Plugin for WordPress, Blogger...