Pages

Showing posts with label recipes. Show all posts

Monday, September 19, 2011

Cooking with Kids: Applesauce


School is back in session and everybody is dusting off their apple themes for fall.  This year, I'm homeschooling my son so, I too, have had to brush off my teacher hat and figure out what the heck I'm going to do.  My son is not one for art, but he loves cooking, so I've made it a point to include several apple recipes in our homeschooling schedule.  Last week we started off easy and made one of my son's favorite foods...applesauce.

We used an extremely simple Applesauce recipe from Allrecipes.com.  I love this website because you can change the serving size and with a click of a button, the recipe will recalculate your measurements.  I chose 1 serving for this project.  We had several apples to choose from; Michael chose a green one.    

We began by cutting our apple.  We used the apple slicer together, then I gave Michael a safety knife (otherwise known as a pumpkin carving knife) so he could try to cut the apples into chunks on his own.  Apple peel has a lot of nutrition, so I left it on.    
 Then we placed the apples into a pot and added the sugar and cinnamon.   
 Michael loves Sid the Science Kid.  There is an episode about heat and change where Sid's preschool class makes applesauce.  Michael remembered the kids trying to mash the apples before they are cooked and wanted to try it too.  He discovered they were too hard to mash.  We talked about how heat will change the apples, making them softer, and we'd try again after the apples had cooked.  Then I added a bit of water to the apples and turned the heat on.  
 Michael was excited when the liquid started boiling.  
 Once the apples were nice and soft, Michael mashed them. 
 I learned that when you choose to hand mash apples, it is a good idea to remove the skin.  Had I thrown the apples into a blender instead, leaving the peels on would have been OK.  
 Yum, yum, time to eat!  Michael enjoys his tasty creation (except the peel).

Shared with:

Photobucket"/>

Monday, August 29, 2011

What's for Lunch?

With school returning next week, and a picky eater who needs a lunch, I'm all in a frazzle about what to pack for her.  In the past I've qualified for discount lunches through the district, but this year our financial situation looks better on paper then it actually is, disqualifying us for reduced price lunches.  I wanted to pack more lunches for her this year anyway since there are days she doesn't eat at school because she doesn't like any of the choices offered her.  My daughter is a lot like I was at her age.  Lunch was always a battle for my parents.  I'd eat something for while, then decide I was bored, and want something else.  I also didn't eat the conventional PB&J because I didn't like peanut butter until I was in my 20s.  I remember eating bagel sandwiches (bagels didn't get as soggy as bread) for a while but my parents bought the cheapest lunch meat on earth so I quickly grew to despise the stuff.  And I didn't eat baloney either.  My parents loved when I worked in the cafeteria because it meant a month of free lunches that they didn't have to pack!

Now I am paying for all the hassle with a daughter who likes even less then I did.  She won't eat PB&J but she will eat baloney.  Heaven forbid I put cheese in her bag (although she loves it) because she claims that even with an ice pack, the cheese becomes "yucky".  She'll sometimes eat ham, usually will eat salami, but never eats turkey.  She loves grilled cheese but I can't pack that because it's "yucky" when it's cold (I don't blame her there!).  Baby carrots are sometimes, crackers too, and celery is a no, no, especially spread with cream cheese or peanut butter!  Do you see what I have to work with?

So I've been researching quick and easy lunches and although I may not have use for many of them, due to Miss Picky, I have found a number of great ideas the rest of you may enjoy.  I'd also love to hear from you all dear readers what you pack for you picky lunch eater.  It just may help!

My ideas for this coming year:
  • Homemade Lunchables- crackers (my kids like Ritz), cheese slices (or not if they get "yucky"), and a favorite lunch meat such as baloney or salami (or turkey or ham, whatever your child will eat).  Pair with whatever healthy food you can get your child to eat, such as fresh fruit and baby carrots.  
  • Homemade Pizza Pockets- My bread machine came with a great recipe for pizza dough but you could use refrigerator dough or your favorite recipe.  Roll dough to a long oval type shape (for whatever size pocket you think is best for your child.  This will take experimentation!)  Spread with pizza sauce and top with whatever your child likes on their pizza plus cheese.  Fold dough over creating a half circle shape (or calzone shape) and seal edges with a fork.  Bake at 400 degrees for 15-20 minuets if calzone sized.  Less time if making a much smaller pocket.  This is a recipe you must play with.  I'm still adjusting mine as my pockets are still coming out bigger then what I'd want to pack my daughter.  You can make these a head of time, reheat in the morning and wrap in foil to keep warm until lunch.  
  • Homemade muffins such as blueberry, zucchini (sneaking in veggies!) or apple packed alongside carrots or other veggies.  There are so many recipes out there reducing the amount of sugar that with a little research, you can find something that fits your lifestyle.  Most kids are more active at school so don't be afraid to give them carbs!  They will burn it off!  
  • Cold noodles packed alongside fresh fruit and veggies.  Cold noodles was my stable in high school.  I LOVED them!  My daughter likes them a little less, but sitting in her lunch box, they won't really be "cold" anymore.  Use fun noodle shapes or spirals, then you don't really have to pack a fork!  I think this will be a hit this year.
  • Hotdogs- Cook them in the morning and pack alongside a bun or slice of bread, packets of catchup and mustard, plus veggies and fresh fruit.  Or maybe you have a child that likes cold food.    When I was younger I liked cold and frozen hotdogs.  Give it a try!    
Veggie Options:
  • carrot sticks or baby carrots
  • jicama (My daughter discovered this over the summer and loved it.  It's crunchy and sweet!) 
  • celery sticks (add peanut butter or cream cheese for added nutrition)
  • sugar snap peas
  • red, yellow, or orange bell pepper slices (also sweet and crunchy)
  • mini  trees (broccoli)  
Lunch ideas from around the web:

Wednesday, August 3, 2011

It's Playtime: Party Time!


It can be difficult planning a birthday party.  From the type of cake to make (or purchase) to ways to entertain the children.  Instead of fretting about your child's next party, check out these fabuloso ideas discovered on last weeks It's Playtime!

Rather then a tired ol' sheet cake for your next party, try baking this yummy Chocolate Chip Cookie Ice Box Cake created by Sun Scholars instead.  

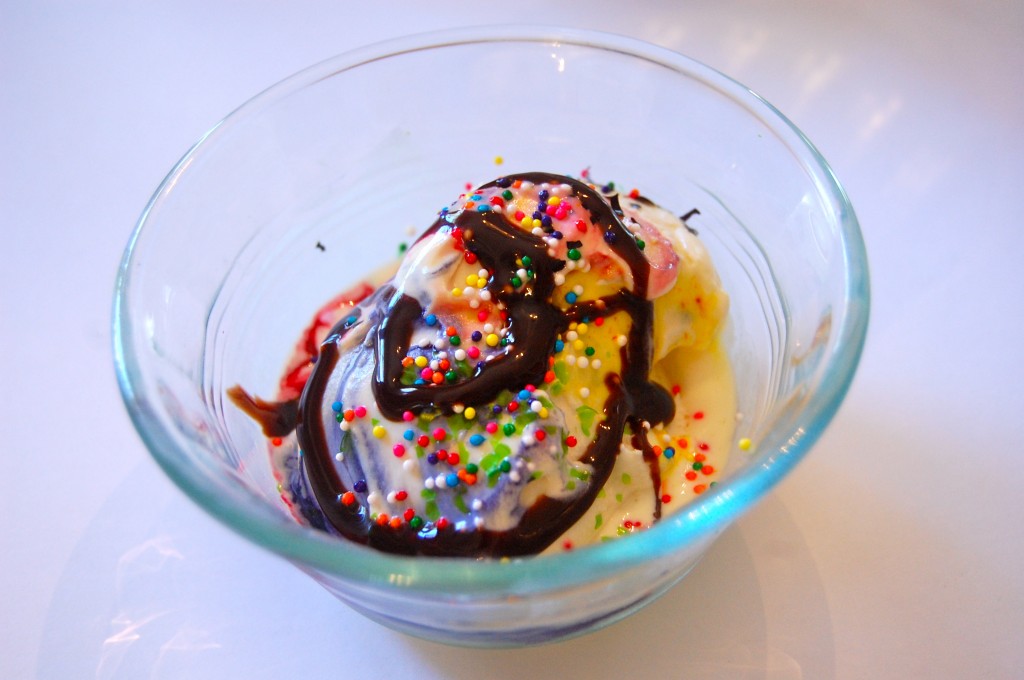
 Don't forget the ice cream!  TinkerLab shared with us how Painting on Ice Cream can create edible works of art.  Why not turn this into a fun and creative party activity?  The kids will thank you!  

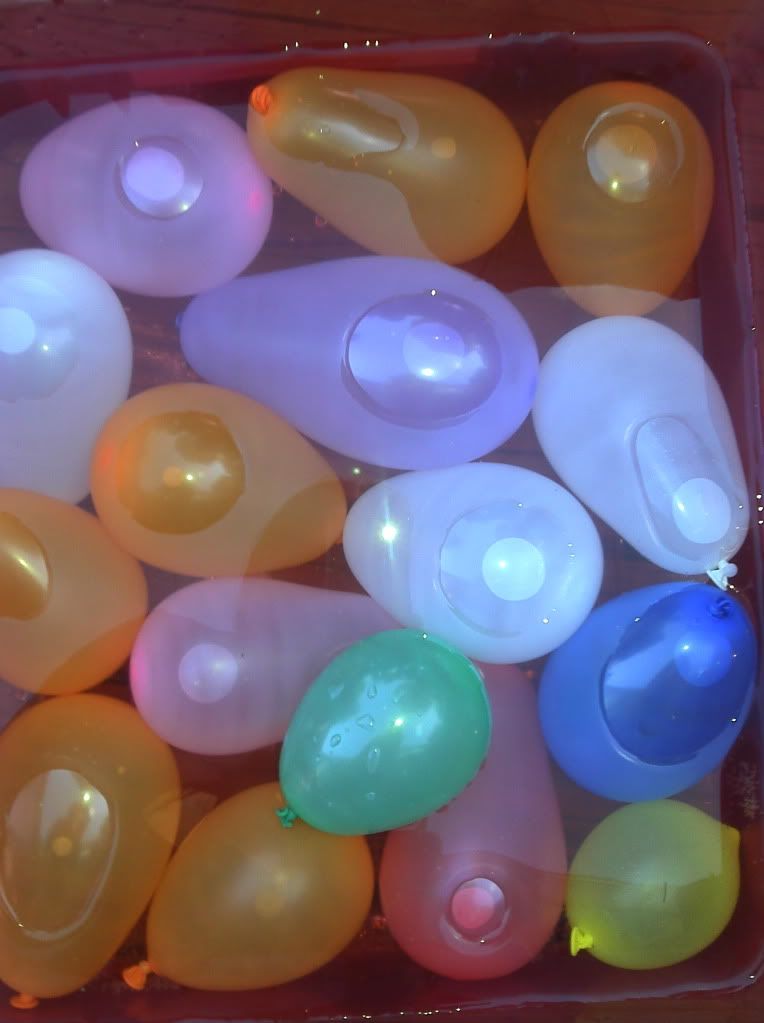
And what child can resist party games?  Especially when they involve water balloons!  Local Fun for Kids shared 5 Ideas for Water Balloon Games.  

 Themed parties don't always need to involve character plates and cups.  It can be about the dress and activities instead.  My Oatmeal Kisses shared some great ideas for a Princess Party.  

If you were featured this week, don't forget to grab your special "featured button."     


Now, on to this weeks play date! 
It's Playtime is a community and Thursday link-up hosted by:

* Rachele : Messy Kids (That's me!)
* Anna : The Imagination Tree
* Rachel : Quirky Momma
* Jamie : hands on : as we grow
* Jenny : Let the Children Play

How to Play :
* Link up a post about a playful learning experience enjoyed by kids.
* Give us love and pop a button into your post/blog. Invite your readers to the weekly play date!


* Stop by one of our blogs every Thursday and add your link about play. Your link will show up on each of the blogs in the It's Playtime community.
* Each week the playtime hosts will choose favorite posts to feature. (By linking you are giving us permission to use an image and link to you, if featured.)
* Be sure to visit some of the links that catch your eye. Commenting on posts that you find interesting or inspiring is a wonderful way to develop your own playful community.

Sunday, July 31, 2011

No Flour Playdough

*This post contains affiliate links 

A Facebook fan of mine asked me about making rice four or flour-free playdough for those who are gluten sensitive.  As I am lucky enough to have a family without food allergies, I turned to my network of preschool bloggers.  Dawn from chasing the seasons shared a wonderful recipe with me using only baking soda, cornstarch, and water.  This dough is silky, smooth, and easy to mold; a nice addition to sensory play.     
Cornstarch, baking soda and water make up the basic ingredients of this lovely dough.  You can also add color (we used a bit of tempera paint) and scents (essential oils or cooking essences).  
 First we added the color and orange oil to the water.  

 We placed the baking soda into the pot.
 Then we added the cornstarch.  Michael likes to touch everything so I encouraged him to feel the cornstarch.
I showed Michael how it can make his skin soft (makes a great body powder).  
My son, who has no problem being dirty all day long, was distraught by the cornstarch on his arm.
After the dry ingredients were added, Michael poured in the colored water.  
We moved the pot to the stove where we began cooking the dough.  Michael quickly became bored and left me to stir.  
The completed dough, still warm to the touch.  

Michael enjoyed sticking his fingers in the warm dough.  Soon after he asked to play outside with Playdough...the store bought kind!  I'd hoped to capture him playing with the dough on another day, but alas, my daughter played with the dough and left the bag open, causing the dough to become dry.  And of course, she played with it at a moment I was unable to shoot pictures of her enjoying it.  I suppose I'll just have to make it again another day!    

Recipe: 
  • 2 Cups Baking Soda (1 box)
  • 1 Cup Corn Starch
  • 1 1/2 Cups Water
  • Color (we added a bit of tempura paint until we received the color we desired)
  • Scents (optional): We added Orange Oil giving the dough a nice aroma
Add color (and scent) to water.  Combine baking soda and cornstarch in a pot, then add water to the powdered mixture.  Cook on medium heat until the dough forms a ball.  Cool and knead.  

**A gross side note- While stirring the dough on the stove my son and I discovered bits of bug floating around in the goo.  Seems a pincher bug (or bugs) crawled into the paint somehow.  Mind you, I've had this particular bottle of paint for over 8 years!  It's never dried out but had apparently captured insects!  What was left was quickly discarded and I had to spend several minuets fishing bug parts out of our dough.  The moral of the story is beware of your paint storage area...oh and in case you don't know, cockroaches will eat dried tempera paint so beware of what you store that you have painted (classroom decorations and such)!  Blah!      

This posting linked with:


GettingMessyWithMsJessi
   

LinkWithin

Related Posts Plugin for WordPress, Blogger...